Now that you have mastered how to do basic searches with CreatorDB is time to learn a new important tool that is going to help you with influencer discovery: groups.
Step 1 – Create a Group
If you go back at your search results you will notice that each creator has a bookmark symbol on the right side of their row. Clicking it, or selecting one or more influencers, is going to let you add them to a group.
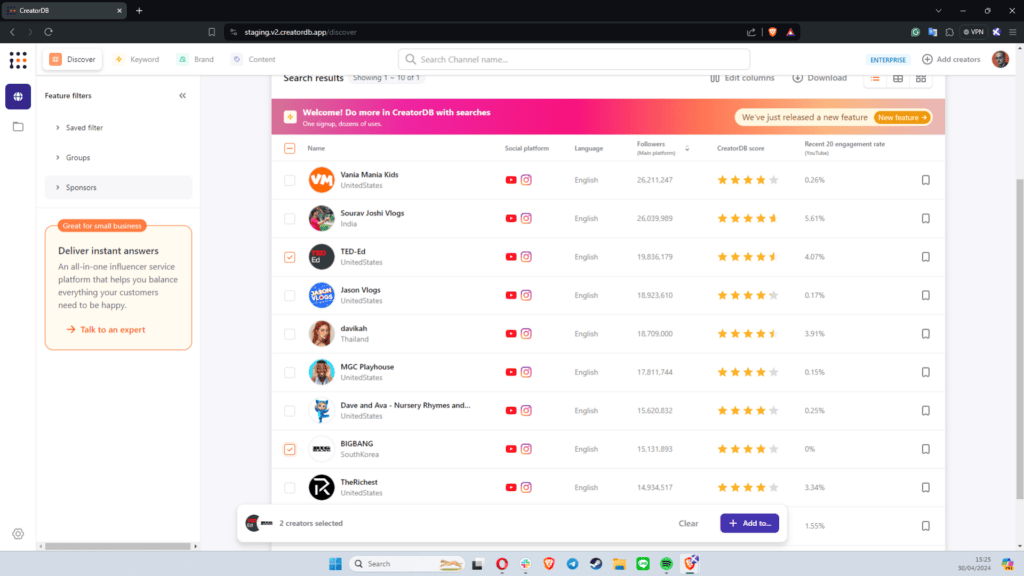
You can decide to add them to an already existing group or create a new one for these influencers.
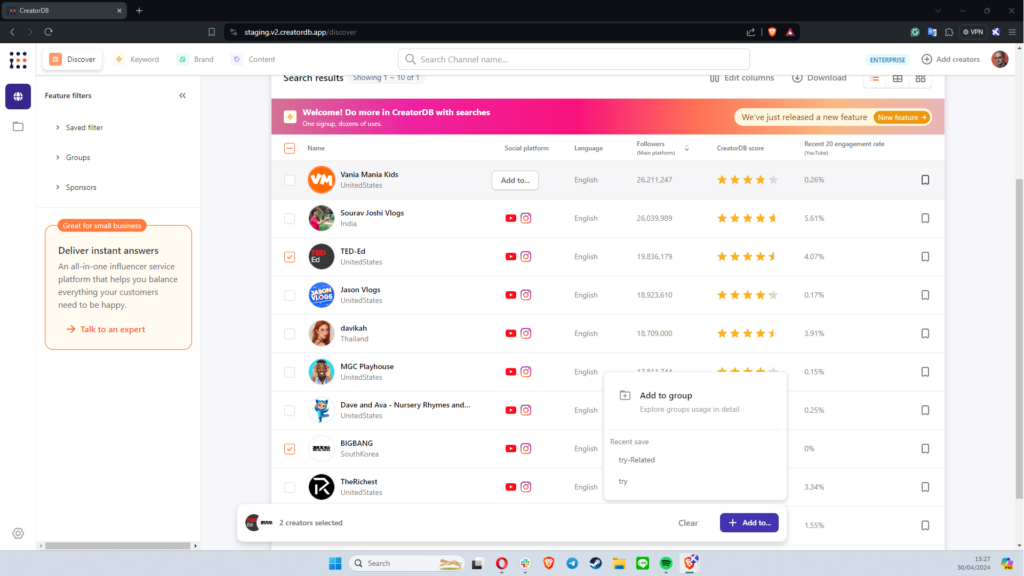
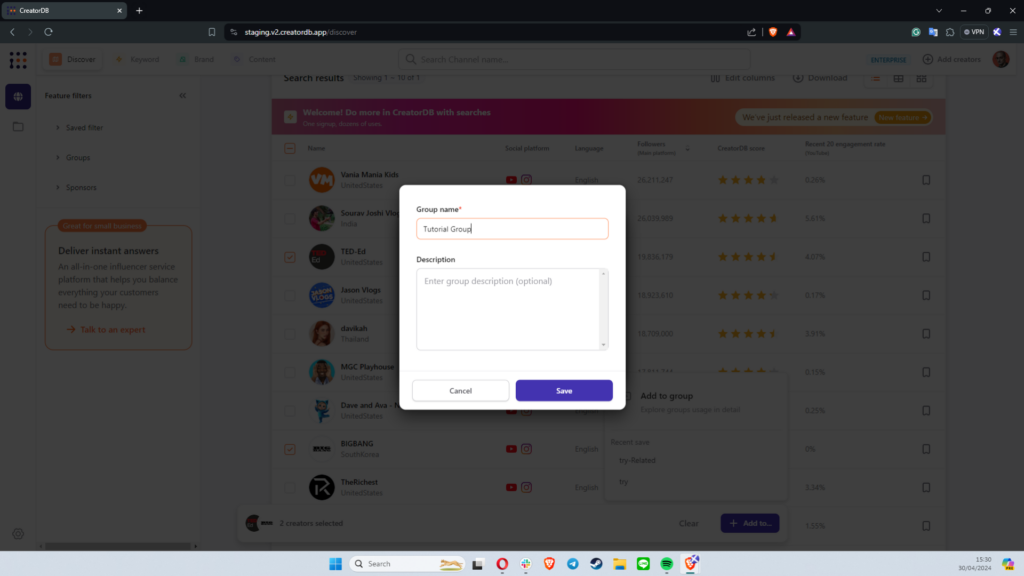
If you are making a new group you will be required to name it and then the influencers will be added to it.
Once you have put a few influencers in a group you can use them to help your discovery process:
Step 2 – Expand your Search Results
Head to the groups’ page.
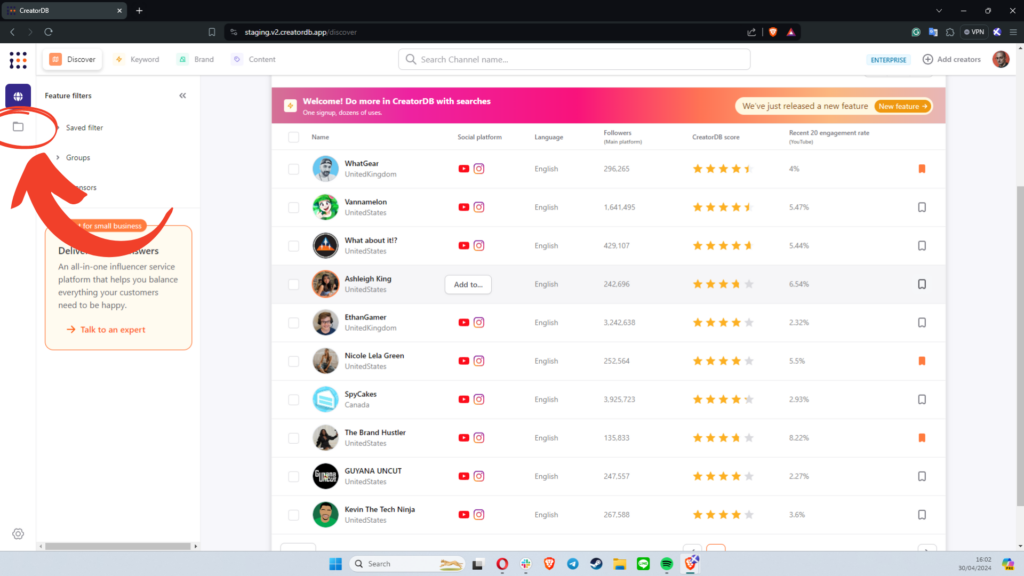
There you will find all the groups you have created and by clicking on one you will be able to see all the members.
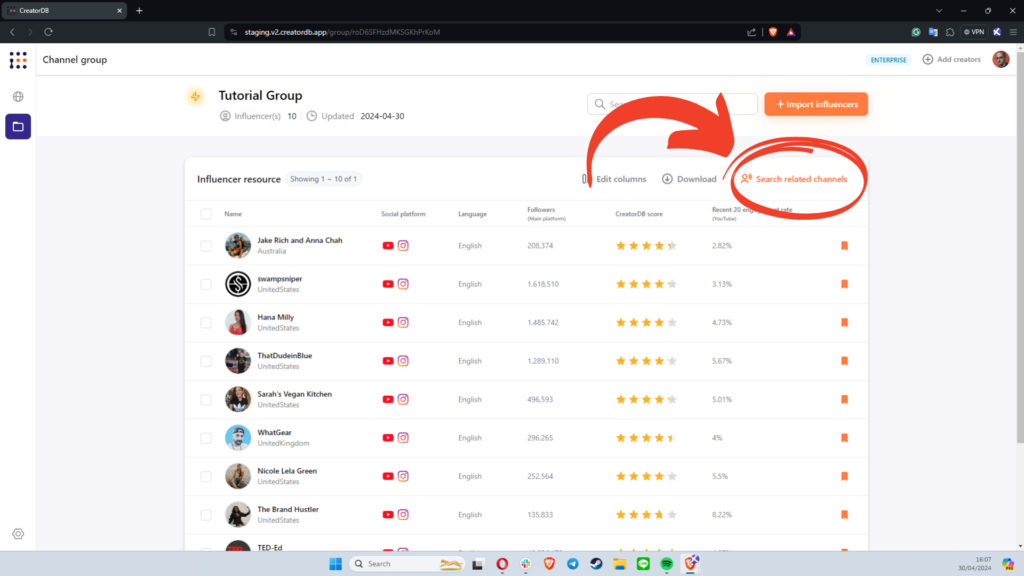
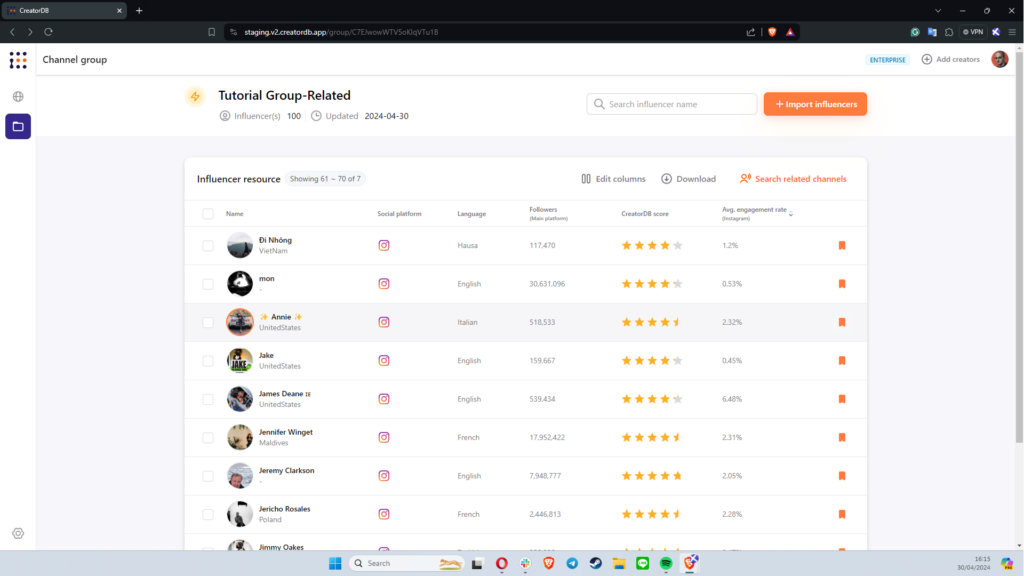
Here you will also find the Search Related Channels function, clicking on it will let CreatorDB create a new list titled “your group name-Related”. This group will be populated with creators that are similar to the one you chose in your original group.
Step 3 – Filter your results with groups
Groups can be used as filters in a search if you want to only look for creators you have never contacted or worked with you can create a list of influencers you already contacted/ worked with and from the featured filters tab on the left column you can decide to exclude them from appearing with your current search.
If instead you want to see how they stack with a new search you can decide to include them and the Table View to quickly compare the most important characteristics.
You can also find creators by looking for keywords, topics, and niches of their content. How to do it is all laid out in our tutorial about Keyword Search.